Step One: Networked Blogs
 Visit Networked Blogs and click Add Your Blog. You will be redirected to Facebook.
- Click Register a Blog and add your details.
- It will ask you if you are the author of the blog. Click Yes.
- It will ask you to verify ownership. I suggest using the widget to verify because then its done and you don't have to wait around for friends to verify.
- Copy the code given and follow the instructions to put it on your blog. They will be different for Wordpress and Blogger blogs.
- Once you have added the html code to your blog, click Verify Widget.
- After it has successfully verified, click Next. You can now delete the widget off your blog's sidebar or leave it there. It's up to you.
To get your blog posts to go to your Facebook Page:
- Go to Feed Settings.
- Find your Facebook Page in the list that will show up and click Configure.
- Click Install.
- Click Add Networked Blogs.
- It will ask "Did you install Networked Blogs on your page?" Click Yes.
- Check the little box "Auto-Publish Blog Posts to Page Wall".
- Then Click "Allow Publishing" in the pop up window.
- To see if it worked properly, click Publish a Test Post.
Second Method:
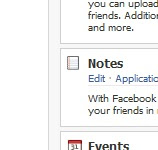
 An alternate option is to go to your Facebook page and click on "Edit Page" - just under your profile picture.
 Then under Notes, choose "Edit".
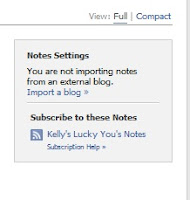
 Under Notes Settings, click "Import A Blog"
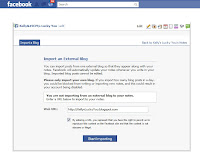
 Type in your blog's url, click the box that says you have rights to the blog and then "Start Importing".
 You'll get a preview and at the bottom, click on "Confirm Importing".
Success!


Thanks for the article! I just set this up for my blog.
ReplyDeleteAwesome! I've been trying to do this and it was actually really easy! Thanks!
ReplyDeleteThat helped a lot, thanks!
ReplyDelete